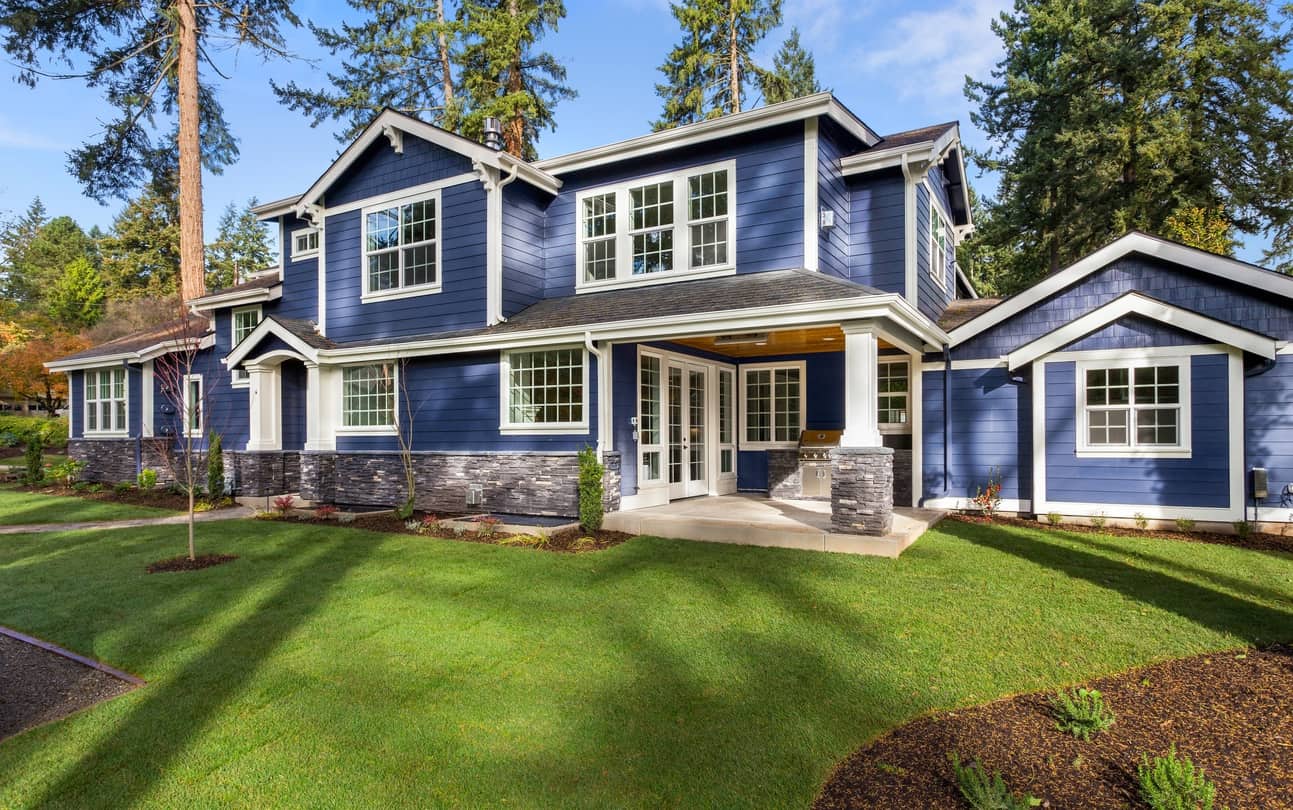
You pull into your Alexandria driveway on a Saturday morning and the shutters are the first thing that catches your eye, for all the wrong reasons. Paint flaking off the slats, color faded from years of summer humidity and winter freeze-thaw cycles, the bottom edges of the wood starting to show gray weathering through the finish.
Most homeowners researching how to paint shutters in Alexandria land on the same fork in the road. The weekend DIY route runs $150 to $450 in materials plus 12 to 20 hours of skilled work; the professional repaint runs $700 to $1,500 for a typical Alexandria home, with the work done in 1 to 2 days and the result holding 7 to 10 years. Either is reasonable; the math just looks different for each path.
This guide breaks down how to paint shutters properly, the right product for each material in Northern Virginia conditions, the prep work that determines whether your investment lasts, and how to decide between DIY and a professional repaint.
Key Takeaways
- How to paint shutters properly comes down to three factors: the right product for the material, complete surface prep, and application during the right weather window.
- For vinyl shutters, use 100% acrylic latex paint labeled vinyl-safe and choose lighter colors on south-facing exposures unless the product is rated for heat absorption.
- Wood shutters take either acrylic latex or exterior oil-based paint, with satin sheen as the right finish for Northern Virginia conditions.
- Removing shutters before painting delivers significantly better results than painting them in place.
- Quality prep and product deliver 7 to 10 year shutter paint lifespan in Alexandria; shortcuts cut that to 2 to 3 years.
How to Paint Shutters in Alexandria: The Complete Process
The right way to paint shutters in Alexandria follows a specific order. Skip a step and the entire job is compromised.
Removing vs Painting In Place
Removing shutters before painting takes 5 to 10 minutes of additional setup per shutter but produces significantly better results. Working on a flat surface gives you control of every louver, eliminates drip risk onto your siding, and lets you reach edges that are inaccessible when shutters are mounted on the house.
Label each shutter as you remove it so you can return them to the same position. The time investment pays back in finish quality and worker safety.
The 4-Step Prep Process
Clean each shutter with a mild detergent and water solution. For vinyl, add one cup of ammonia per gallon of water to cut years of accumulated grime.
Sand lightly with 120-grit to create texture for paint adhesion and to smooth out raised wood grain or old paint drips. Address any cracked or peeling areas down to a sound substrate before priming.
When to Prime
Bare wood and previously stained wood always need an exterior-grade primer before topcoat goes on. Plastic and vinyl shutters need a bonding primer formulated for non-porous surfaces to give the topcoat something to grip.
Composite and pre-painted shutters in good condition usually do not need a full primer coat, just spot priming on any exposed substrate.
What to Look for in Quality Shutter Paint
Three product properties matter more than the brand label on the can for painting shutters in Northern Virginia conditions.
Material-Specific Paint Requirements
For vinyl shutters, the right product is 100% acrylic latex paint specifically labeled vinyl-safe, applied over a bonding primer. Vinyl-safe formulations include heat-reflective pigments that prevent the dark-color warping problem on south-facing exposures.
For wood shutters, either acrylic latex or exterior oil-based paint works, with satin or semi-gloss the right sheen choice. For the deeper comparison of product types, see our guide on exterior paint types every homeowner should know.
Vinyl Shutter Considerations
According to NOAA Northern Virginia climate data, Alexandria summer temperatures regularly exceed 90°F with humidity above 70%, and winters bring 40+ freeze-thaw cycles annually. That combination drives the expansion-contraction stress that makes vinyl-specific paint formulations non-negotiable in Northern Virginia.
Standard exterior latex paint applied over vinyl without the vinyl-safe rating typically fails within 18 months in Alexandria conditions.
Wood Shutter Considerations
Wood shutters expand and contract continuously through Northern Virginia humidity cycles, which means the paint film needs flexibility to move with the substrate. Acrylic latex outperforms oil-based on flexibility; oil-based outperforms acrylic latex on initial hardness.
For Northern Virginia conditions, premium 100% acrylic latex is the better long-term choice on wood shutters.
Choosing the Right Sheen
The sheen choice affects both visual appearance and how well the paint holds up to Alexandria weather and routine cleaning.
Why Satin Works Best
Satin sheen is the standard choice for exterior shutters in Northern Virginia. It delivers enough sheen for moisture resistance and easy cleaning, without the artificial reflective look that high-gloss creates on small features like shutters.
Most quality manufactured shutters ship with a satin factory finish for this reason. For the full sheen comparison across exterior applications, see our guide on different paint sheen comparison guide.
When Semi-Gloss Makes Sense
Semi-gloss works on shutters when you want a slightly higher contrast against matte or eggshell siding. It cleans easier than satin and holds up slightly better to direct sun exposure on south-facing elevations.
The trade-off is that semi-gloss highlights every brush mark and substrate imperfection, which requires better surface prep than satin does.
What to Avoid
Avoid flat or eggshell sheens on exterior shutters. They trap dirt, fade faster, and look dull against modern siding textures.
Avoid high-gloss on louvered shutters. The sheen amplifies every brush mark and produces a plastic-looking finish that does not match well with typical Alexandria home aesthetics.
Application Techniques That Prevent Common Problems
The right tools and timing prevent the most common shutter painting mistakes. Three application factors matter most.
The Right Tools
A 1-inch angled trim brush is the right tool for louvered shutters. The angled bristle reaches into the slat undersides where moisture damage starts first, and the narrow profile prevents drips down the louver faces.
A 2-inch flat brush handles the frame and panel sections. Foam mini-rollers work well on flat-panel shutters but leave a slight texture that may be visible on close inspection.
Brush Application Order
Paint the louvers first, working from top to bottom. Take a lighter stroke over newly painted areas to eliminate brush marks before the paint sets.
Move to the inside edges of the frame, then the front face of the frame last. This sequence prevents drip marks from settled paint running back across already-finished sections.
Weather Timing
Apply paint when temperatures are between 50°F and 90°F with relative humidity below 70%. For Alexandria, that typically means early morning and late afternoon during the spring and fall painting seasons.
Avoid mid-summer paint work in Northern Virginia. The combination of 90°F+ temperatures and 75% humidity is outside manufacturer specifications for nearly all exterior paint products.
What to Avoid to Prevent Expensive Mistakes
Three common mistakes produce the majority of shutter paint failures in Northern Virginia. Knowing them in advance prevents the do-over.
Wrong Product Choices
Enamel paint is too rigid for vinyl shutters and cracks under expansion-contraction cycling. Standard interior wall paint is not formulated for UV exposure and fails within 12 to 18 months on exterior shutters.
Generic spray paint products are not rated for exterior use beyond touch-up applications and degrade quickly under Alexandria summer sun.
Wrong Color Choices on Vinyl
Dark colors on south-facing vinyl shutters require paint specifically formulated with heat-reflective pigments. Without that formulation, dark vinyl absorbs heat above the substrate’s thermal tolerance and warps.
The rule for vinyl is simple: any color works if the paint is vinyl-safe rated for that color; nothing dark works on standard non-vinyl-safe latex.
Wrong Timing
Painting shutters in direct mid-day sun causes paint to dry too fast for proper film formation. The result is a textured, brush-mark-heavy finish that fails earlier than properly applied paint.
Working in early morning or late afternoon avoids the surface temperature problem and gives the paint film time to level and bond properly.
Color Selection That Enhances Your Home
Color choice on shutters is one of the highest-leverage curb appeal decisions on an Alexandria home.
For White or Light Siding
Black, navy, charcoal, and hunter green deliver strong contrast against white or light-colored siding. The contrast effect is what makes shutters work visually; same-color or low-contrast shutters disappear into the facade.
For south-facing exposures, ensure the paint product is vinyl-safe rated to handle the heat absorption that dark colors create.
For Brick Homes
Brick Alexandria homes typically work well with shutters in colors that pick up an accent from the brick itself. Deep cream, soft black, and muted forest green are common choices for traditional brick facades.
Avoid colors that compete with brick tones. Bright primary colors typically clash with brick.
For Two-Tone Exteriors
For homes already using two-tone color schemes, shutters provide a third accent that ties the palette together. For the full breakdown of how two-tone exterior color schemes work across different home styles, see our guide on stylish 2 tone exterior house colors.
When to Call Professionals vs DIY
The DIY versus professional decision on Alexandria shutter painting comes down to four practical factors, not budget alone.
When DIY Makes Sense
DIY is reasonable when you have 4 or fewer shutters, ground-level access on a single-story home, shutters in good condition with minimal prep needed, basic painting experience, and the time to spread the work across a weekend or two.
The DIY savings on shutter painting are real, typically $500 to $1,000 versus professional pricing, but the trade-off is 12 to 20 hours of skilled work.
When to Call a Pro
Professional painting makes more sense when you have multiple stories with second-floor shutters, large shutter counts that scale beyond a weekend project, shutters needing significant repair or stripping, or scenarios where your time is worth more than the cost savings.
For broader exterior project context, see our guides on what affects exterior painting cost most and the full exterior house painting cost guide.
The Quality Gap
Professional shutter painting in Alexandria typically holds 7 to 10 years. DIY work often shows wear in 3 to 5 years, with the most common failure being paint chipping at louver edges and slat undersides.
Your home’s shutters are the first detail visitors see when they pull up to your Alexandria house, and Northern Virginia weather punishes shortcuts on every step from prep to topcoat. Whether you want an honest assessment of the right product for your specific shutter material, advice on whether DIY or professional makes more sense for your project, or a full professional repaint that holds for 7 to 10 years, our team at JC Custom Painting LLC will walk you through exactly what your home needs.
Call 571-575-6818 for a FREE estimate today.