
Your deck made it through another round of Northern Virginia weather, but if you are looking at it wondering how to get ahead of summer, you are asking the right question at the right time. The best way to stain a deck is a process, not a quick coat of product.
The steps you take before you open a single can matter as much as the stain itself. Across Warrenton and Fauquier County, this breakdown covers what works and what does not.
Key Takeaways
- Cleaning and drying the wood first is non-negotiable; wet or dirty wood blocks adhesion.
- Stain type matters: transparent, semi-transparent, and solid each serve a different purpose.
- Northern Virginia’s humidity makes timing critical; late spring and early fall are the best windows.
- Back-brushing during application improves penetration and longevity.
- Solid stains can last 3 to 5 years; semi-transparent stains need reapplication every 2 to 3.
- Knowing when to call a professional can save money on a job gone wrong.
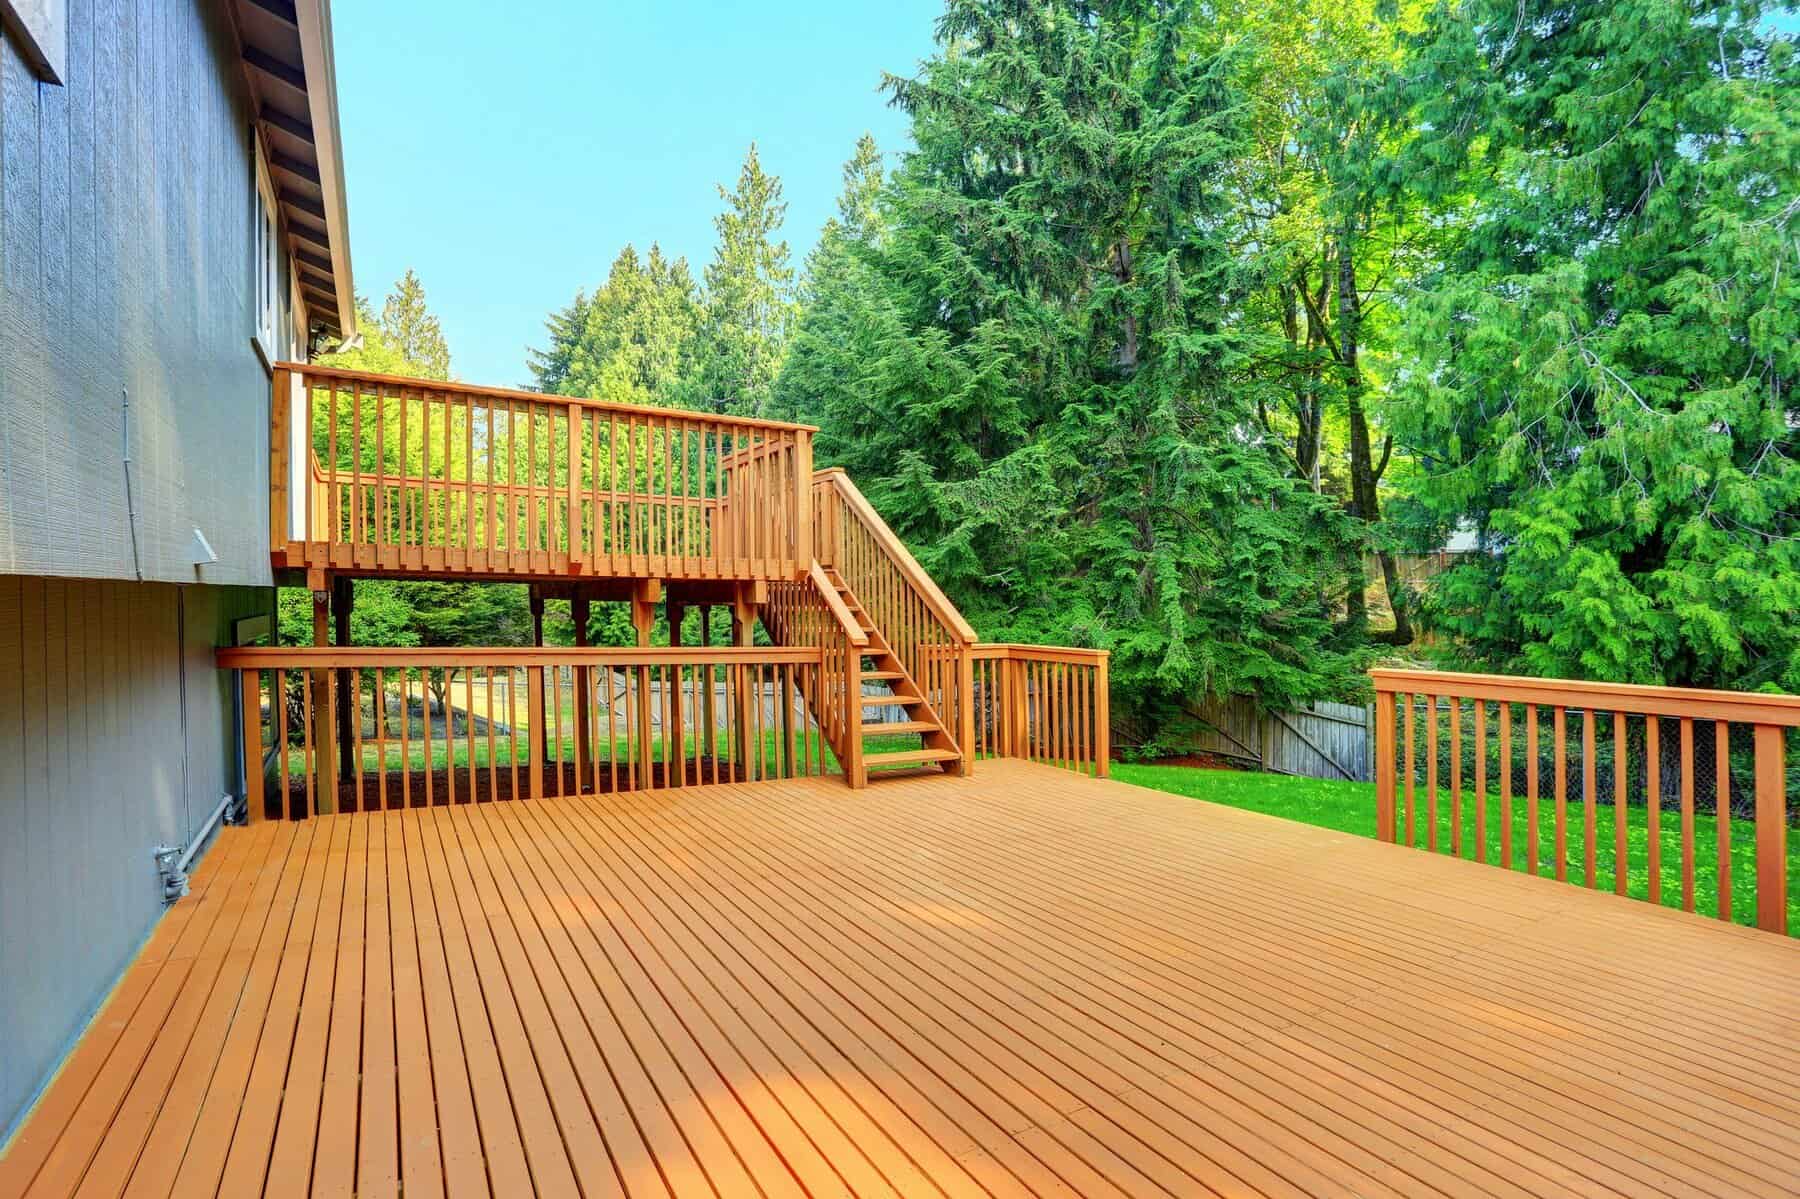
Why Your Deck Needs More Than a Color Refresh
A deck takes a beating. Sun, rain, foot traffic, snow, and temperature swings work on the wood year-round, and over time that causes cracking, warping, and fading. Stain seals the wood and keeps moisture from soaking in.
For homeowners in Warrenton and the wider Northern Virginia area, that is not a minor concern. Humid summers and cold winters are hard on any finish, and a deck left bare too long becomes more than a cosmetic problem.
Staining highlights the grain, extends the deck’s life, and helps prevent rot and insect damage. It also keeps the wood from absorbing moisture that can freeze and split boards. Do it right and that gray, splintering look stays gone for years.
1. Inspect the Deck Before You Touch a Brush
The best way to stain a deck starts before you open a single can. Walk the whole surface first.
Look for broken or uneven boards, raised nails or screws, spots where water pools, and any mildew or algae. Replace damaged boards and reset loose fasteners before you go further, which protects both the deck’s life and your safety.
Wood rots where moisture sits, and older decks can hide extensive rot. Rotted wood will not hold stain and will not last, so fix what is broken first. Staining over damaged wood does not hide the problem, it preserves it.
2. Clean the Wood Thoroughly
A clean surface is what lets stain soak in and cure. The wood should be free of mildew, dirt, debris, and any old residue before you start.
For most decks, a dedicated deck cleaner worked in with a stiff brush and rinsed off does the job. If you use a pressure washer, set it to 1,200 to 1,400 psi with a 45° tip and spray with the grain to avoid gouging the wood.
For weathered boards with heavy gray or mildew, a wood brightener helps. It opens the pores and resets the surface so the stain takes evenly.
3. Let the Wood Dry Completely
This step gets skipped more than any other, and it is one of the top reasons stain fails early. If the wood is even slightly wet, it will not hold the finish.
Give the deck at least three days to dry before you start, and allow more time after heavy rain or in humid stretches.
Not sure it is ready? Use the water-drop test: if water beads on the surface, it is too wet; if the wood drinks it in, you are ready to stain after a quick cleaning.
4. Sand When the Wood Needs It
Sanding is not always required, but it makes a real difference on rough or older decks. It smooths splinters, strips leftover old stain, and opens the pores so new stain penetrates.
Use a medium grit, around 80-grit, on rough patches, then sweep or vacuum the dust away completely.
New pressure-treated lumber often carries a mill glaze, a slick sheen that blocks absorption. Apply a wood brightener and neutralizer and scrub it off. If the water-drop test still shows beading, the wood is not ready.
5. Choose the Right Stain for Your Deck
The choice comes down to two things: how much grain you want to see, and how much maintenance you are willing to do.
Transparent stain shows the most grain but needs the most upkeep, usually reapplied yearly. Semi-transparent stain balances color and visible grain. Solid stain covers the wood like paint for the best protection, hides the grain, and typically lasts 3 to 5 years.
Water-based or oil-based? Water-based dries faster and has less odor, while oil-based penetrates deeper and lasts longer. If your boards do not all match because you replaced a few, a semi-solid or solid stain blends them into a uniform look.
For how these coatings behave locally, see our guide on common exterior paint types explained.
6. Time It Right for Northern Virginia
Timing is one of the most overlooked parts of the best way to stain a deck, and it matters even more here. Apply stain when air and surface temperatures sit between 50° and 90°F, out of direct sun, with no rain forecast for the next 12 to 24 hours.
Too hot and the stain dries before it can penetrate, leaving marks and uneven protection. For this region, April to June and September to October give the best mix of temperature and dryness.
Many contractors avoid peak summer because consistent results are harder to get. If you do work in summer, stain early in the morning and watch the humidity, since damp air slows curing and can trap moisture under the film.
7. Apply With the Right Technique
Once the surface is prepped and conditions are right, technique decides the result. Start with the handrails, balusters, and spindles, taping off siding first, then work the deck floor from one end toward your exit so you never stain yourself into a corner.
A paint pad on a pole or a pole roller covers boards faster than a brush and more evenly than a sprayer. Then comes the move that separates a good job from a mediocre one: back-brushing, following each pass with a brush to work stain into the wood. If you spray, back-brush or back-roll to even it out and drive the product in.
More stain is not better. Over-applying leaves a sticky film that cracks or peels, so let the finish dry at least 24 hours before foot traffic and longer before furniture goes back.
8. Maintain It So the Work Lasts
Maintenance is the part of the best way to stain a deck most homeowners skip. A little regular care keeps it looking good and pushes back the next full project.
Sweep off debris and wash with mild soap every few months. Check for peeling or water damage and handle it early. Most decks need a fresh coat every 2 to 3 years, depending on exposure and stain type.
Use the water test to know when: if drops bead, the finish is still repelling moisture; if they soak in, it is time to re-stain. For more on how long a finish holds up in this climate, see how long deck stain lasts.
When the Best Way to Stain a Deck Is to Call a Pro
DIY staining works for a lot of homeowners. But some situations make a professional the smarter call.
If your deck has heavy mildew, multiple boards to replace, or was built before 2004, the prep alone becomes a big project. Decks built before 2004 were often made with chromated copper arsenate (CCA), an arsenic-based preservative, and sanding that wood releases arsenic-laden dust that is best handled by a professional. The EPA guidance on CCA-treated wood notes that a penetrating stain applied regularly can actually reduce leaching from older boards.
There is also product access. Professionals use commercial-grade stains and equipment you cannot buy off the shelf, and a professional job tends to last longer because every step is done to a set standard. If you are weighing finishes for other wood too, our guide on paint versus stain for fences helps.
Ready to Stain Your Deck the Right Way?
If you are in Warrenton or anywhere across Northern Virginia and you would rather have it done once and done right, JC Custom Painting LLC offers deck staining with a 2-year workmanship warranty and no deposit required upfront. Every project starts with an honest look at what your deck actually needs.
Call 571-200-3668 for a FREE estimate today.